To create a new Deal:
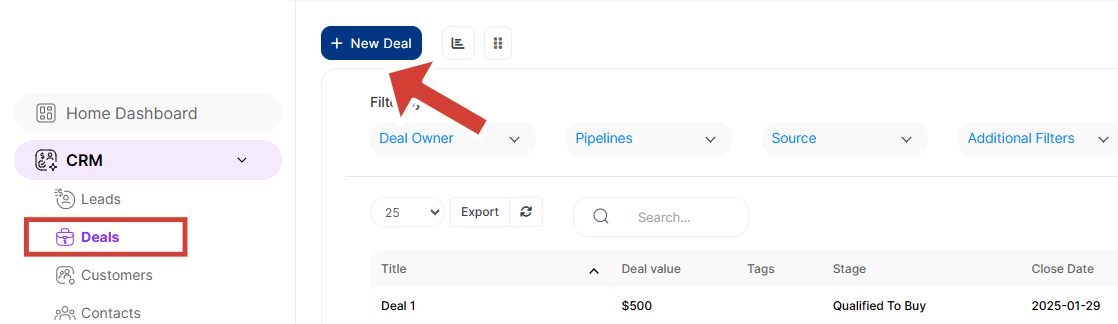
From the left navigation menu, click on CRM.
Select Deals from the dropdown menu.
Click on New Deal to open the deal creation form.
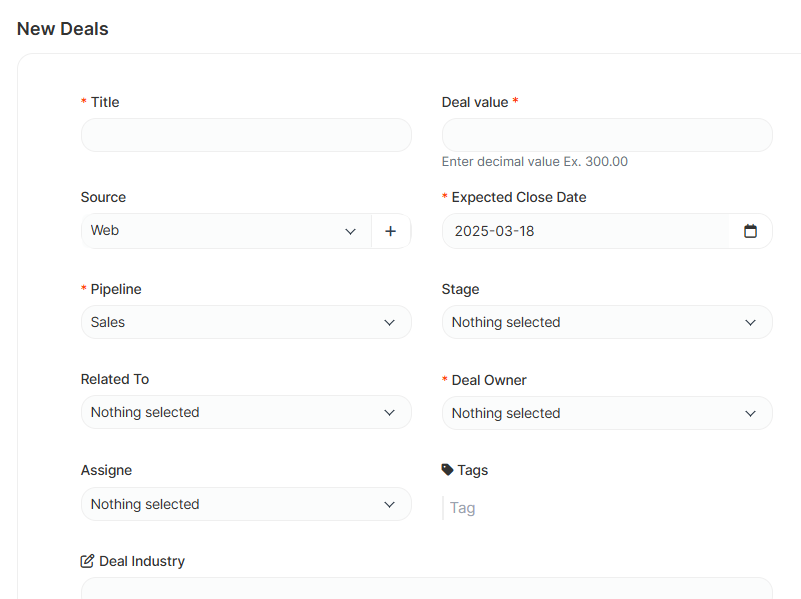
On the New Deals page, enter the required details:
Title: Provide a descriptive title for the Deal.
Deal Value: Enter the expected value of the deal in decimal format (e.g., 300.00).
Expected Close Date: Choose the estimated closing date for the Deal.
Pipeline: Select the appropriate sales pipeline where the Deal belongs.
Deal Owner: Assign the Deal to a specific user in your organization.
Source: Indicate how the Deal was sourced (e.g., Web, Referral, Email, etc.).
Stage: Choose the current stage of the Deal within the sales process.
Related To: Link the Deal to an existing contact or customer.
Assignee: Assign the Deal to a team member responsible for managing it.
Tags: Add relevant tags to categorize the Deal.
Deal Industry: Specify the industry related to this Deal.
Once all details are filled in:
Review the entered information to ensure accuracy.
Click on Save Changes to create the Deal.
Your new Deal will now be listed under the Deals section, where you can track its progress and make updates as needed.
You can edit a Deal at any time by navigating to the Deals section and selecting the specific Deal.
Deals can be moved through different sales stages as they progress.
Assigning Deals to the right team members ensures better follow-up and management.
By following these steps, you can efficiently create and manage Deals within ClearCRM, keeping your sales pipeline organized and up to date.
