The Assets section in ClearCRM allows users to manage different marketing materials, such as images, documents, and other digital resources. Assets can be categorized, customized, and attached to marketing campaigns for better organization. Below is a step-by-step guide to creating an asset.
Log in to your ClearCRM account.
From the left-hand navigation menu, go to Marketing.
Click on Assets & Forms.
Ensure that you are on the Assets tab at the top.
Click the "Add New Asset" button.
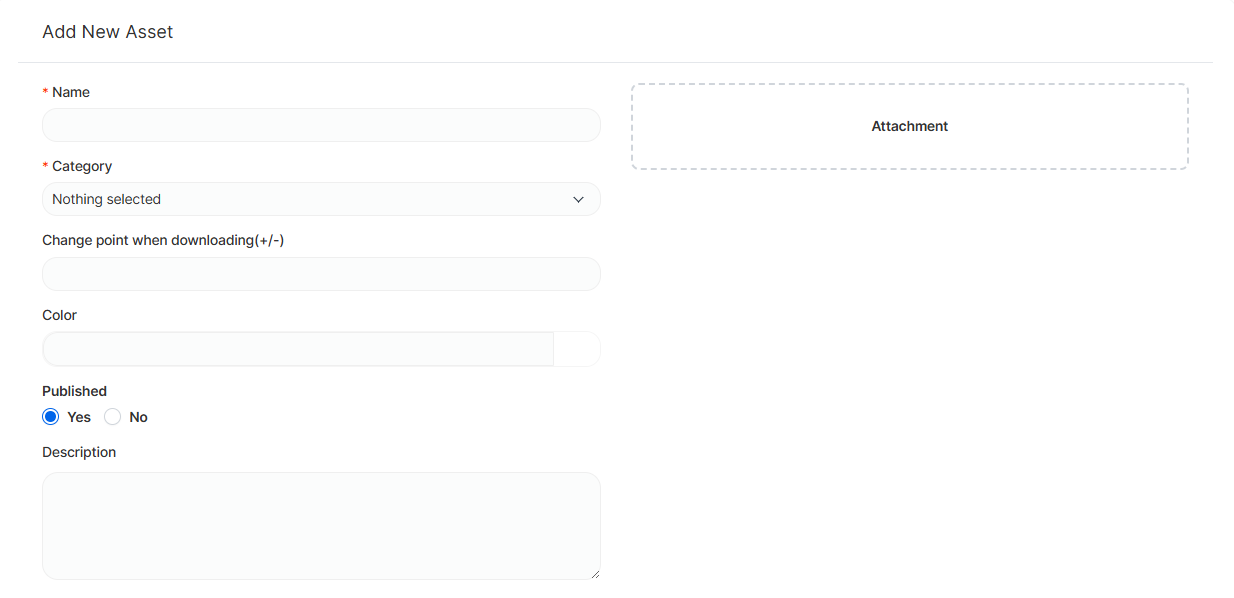
Fill in the required fields:
Name (Required): Enter a descriptive name for the asset.
Category: Choose an appropriate category from the dropdown menu.
Change Point When Downloading: Adjust the value if necessary.
Color: Optionally, assign a color to the asset.
Published: Select "Yes" if you want the asset to be publicly available.
Description: Provide additional details about the asset.
Upload an Attachment
Click the designated "Attachment" section.
Select the file you want to upload from your device.
Click the Save button to finalize the creation of the asset.
After saving, the asset will appear in the Assets List.
You can filter assets by category, search for specific assets, or export the list.
