Creating a Lead in ClearCRM is simple and can be done in two ways: from the Leads page or using the Quick Create button. Follow the steps below to ensure a smooth process.
Navigate to the Leads Page
Log in to ClearCRM.
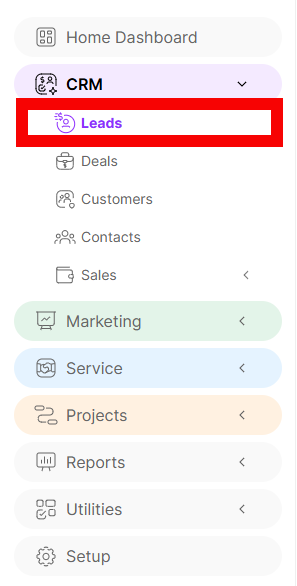
In the left menu, click on CRM > Leads.
Click the + New Lead button at the top.

Fill in the Lead Details
A form will appear where you need to enter the Lead’s details.
Mandatory fields:
Status (Dropdown selection)
Source (Dropdown selection)
Name (Text input)
Other fields such as Position, Email Address, Phone, and Company are optional but can help keep better records.
Save the Lead
Once you’ve entered the required details, click Save to add the Lead to the system.
You can create a Lead from anywhere in the application without navigating to the Leads page:
Click the Quick Create button (+) located next to the search bar at the top.
From the dropdown menu, select Lead.
The same New Lead form will appear as in the previous method.
Fill in the Status, Source, and Name fields (mandatory) along with any additional details.
Click Save to create the Lead.
This feature is useful when you need to quickly add a new Lead while working in other sections of ClearCRM.
Tip: If you forget to fill in any mandatory field, the system will display a message indicating that the field is required.
